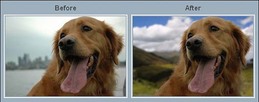
One of the simplest forms of masking is to use the Magic Wand Tool. In the copied background image, select the Magic Wand tool from the left toolbar. This will bring up the tools for the Magic Wand in the top toolbar. Set the Sample Size to 3 by 3 Averages, the Tolerance to 40 (the default size is 32), Anti-alias enabled and Contiguous enabled.
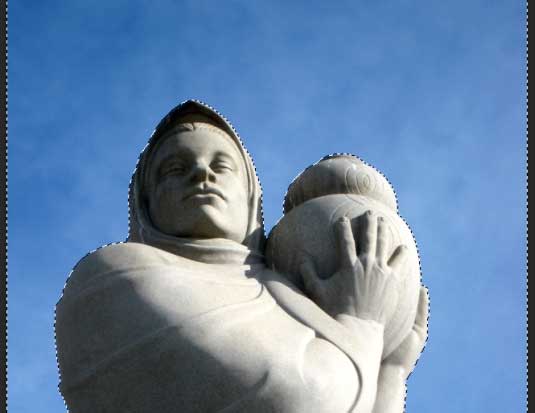
For now, hold down your Shift key, and start clicking in the sky. It should only take a few clicks to select the entire sky. (Holding down the Shift key allows each click to be added to the selection.)
The next step is to go to Select Manue> and Click Inverse (Ctrl+Shift+I)

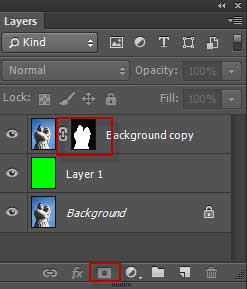
In the Layers board, click on the Add Vector Mask icon at the bottom of the board. This creates a mask for our image. At this point the image could be measured finished but one potential problem remains, which is the edge of the image. If the edge is too sharp, the image will look like it's pasted into a new scene and won't appear natural.


 RSS Feed


